Monday, 10 September 2012

Harry Potter Party magical wands!


Really simple magic wands!  made from an a4 piece of paper, hot glue, brown acrylic paint!  Of all the things we made for this party I think these were the simplest, fastest and they look amazing when they have been painted!

Dependant on how many wands you are making roll your paper into pointed cones and glue the corner to stop them unravelling.


Trim the tops so they are flat, then fill each wand with hot glue # make sure it goes all the way to the bottom so that the wands will not bend when dry, I also pushed a wooden skewer inside ours for extra strength.


Then using  the glue gun I piped a design onto the wand.  Each wand had a differing design.


Each wand took no longer than a couple of minutes to make ~  I didnt worry about being too neat or anything either


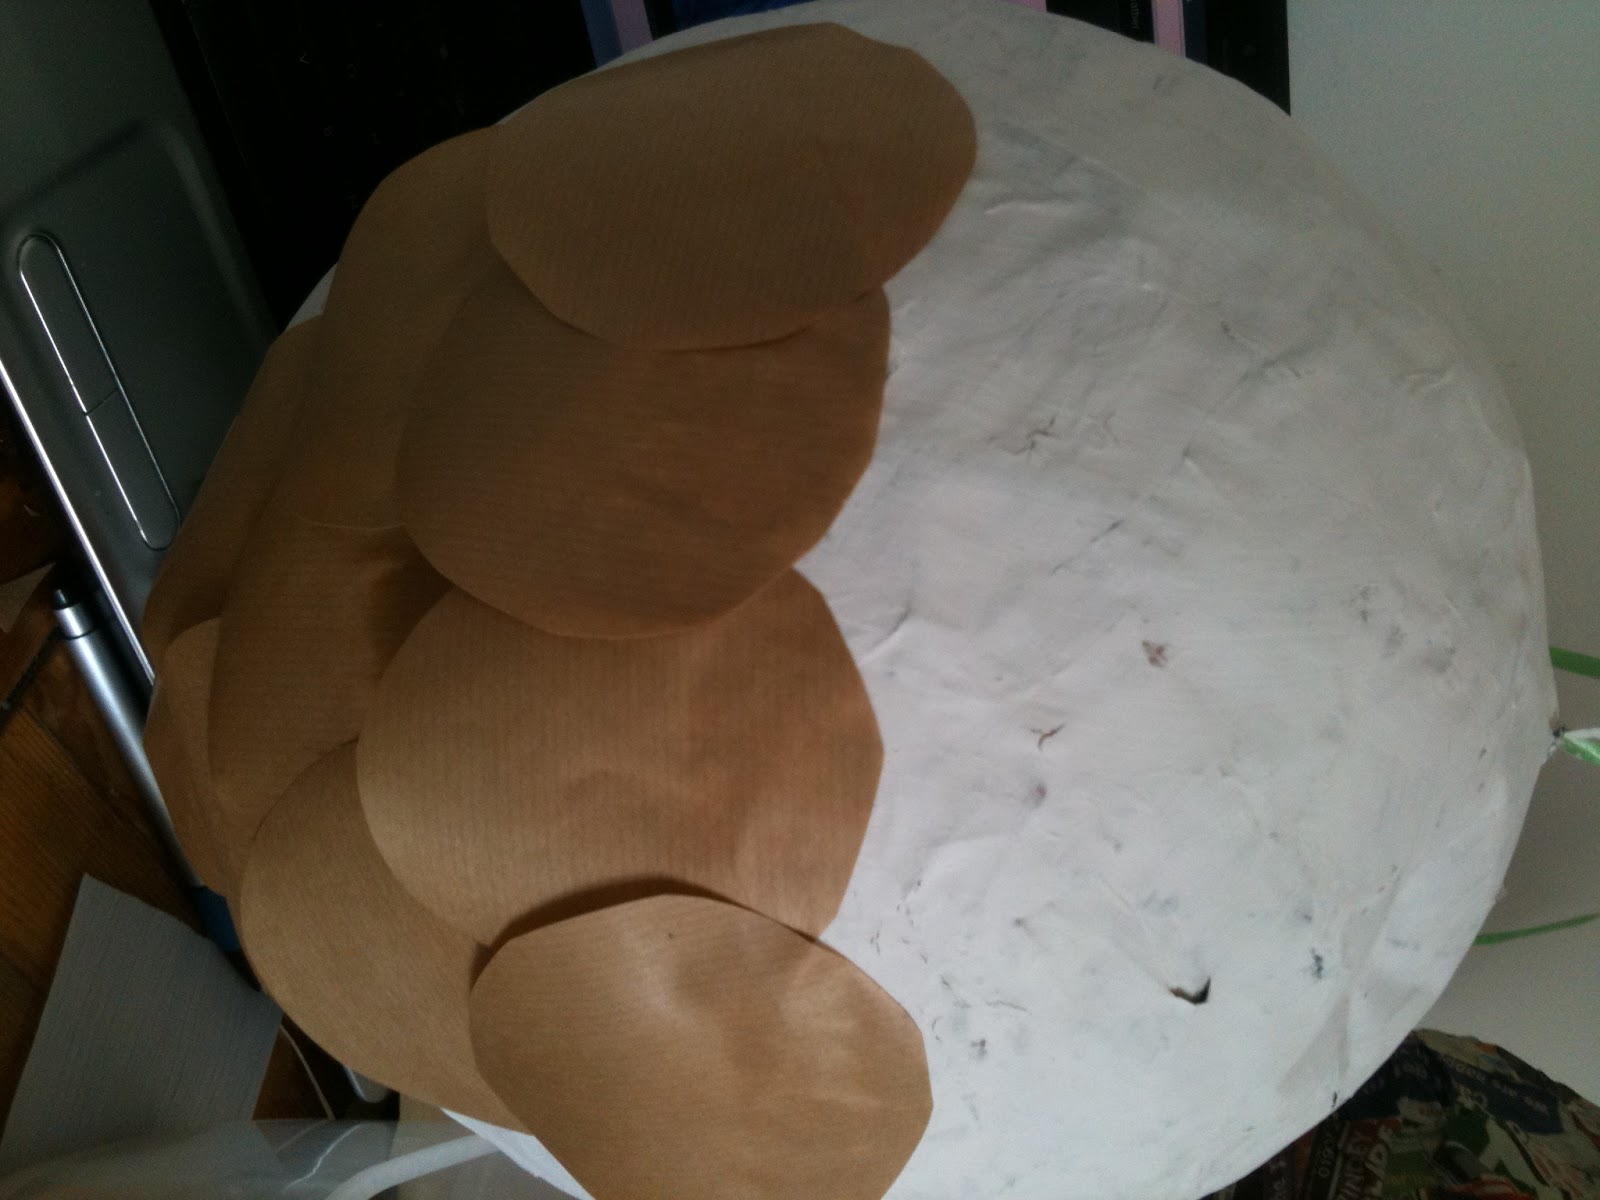
Then my girls set about painting them with acrylics in varying shades of brown.


Then we left them to dry on newspaper and then hey presto we had very authentic magic wands that cost us next to nothing!!  We ordered the glue sticks from e-bay in bulk as we use a lot of hot glue anyway, but again they cost us a maximum of a couple of £'s to make :0)


Harry Potter Party, Owl Pinata

Step by step owl pinata.

You will need ~

2 large balloons
lots of newspaper
wallpaper paste
brown parcel paper
old cereal box
white emulsion or acrylic paint
paint brush
scissors
Gardeners twine


We searched high and low for an Owl Pinata and gave up in the end ~ we resorted to the ever trusted paper mache :0)  We love an excuse to make things from paper mache in our house.  We used extra large balloons and decided to make 2 just in case one failed.
We started making them 2 weeks prior so we could get plenty of layers built up and dried.  


We had around 5 layers of dried mache on our balloons, before we popped the balloons and trimmed the edge neatly. we then threaded some gardeners twine through the top to hang the pinatas from.  We then gave them a coat of emulsion and popped them aside to dry again.  We used the cereal box to cut out 2 large tear drop shapes and 2 large cicles for the eyes we gave these a coat of white too.


Then using the brown parcel paper we cut finger length strips with a little rounded point at the end to resemble feathers.  Then we started from the bottom corner of the wing and built up the layers to look like feathered wings.


Then using circles cut from the brown parcel paper, we stuck the owls chest feathers on in a rough triangular shape. 
We then filled in the rest of the white with the finger shaped feathers starting at the bottom and working our way up.


Wings and eyes and ear feathers are glued on using a hot glue gun ~ then we stuffed them full of sweeties before we glued our base on.


My girls made these practically on their own I just used the glue gun for them and they cost a maximum of £2 for all the materials not including the sweets.  Before we hung them from the tree we fixed letters into their claws :0)  They gave us a good 30 minutes entertainment during the party :0)

Harry Potter themed birthday party :0)

This was a rather epic party!!  In the planning as well as the execution of it :0)  We started planning around 2 months prior, lots of research, and a great excuse to watch all the movies again.  We also came across lots of amazing blogs with helpful pointers and tips which we used and are listed below.

We decided that our invitation would be the acceptance letter that Harry receives from Hogwarts in the first film and it would be delivered by owl :0)


We re-wrote it a little to include personal details and the location of our party, we printed them on plain paper with the Hogwarts Crest as the background.  We found some gold envelopes in the £1 shop and addressed them to each child.
Included in each invitation was a train ticket for the Hogwarts Express that we requested the children brought along with them to gain admittance to the party ~ and every child remembered them even though invitations had been sent out a month prior to the party!
We then decided that it would be really fun to send out chocolate frogs with our invitations!!  We found the frog mould on Ebay here >Chocolate frog mould and it is just the right size to fit inside the boxes.  We used cooking chocolate melted in the microwave and poured in the mould and popped in the fridge.  Templates are all included below for you to download along with the owl template we used to send all our invites out.

They were fairly time consuming to make, but we made them up over a few nights after school, we used a multi purpose glue to put them together, then we used glue dots to seal the chocolate frogs inside their boxes.
We stuck the invitations in the owls beaks and tucked the chocolate frogs inside the owls after they had been put together.
The downloads for the owl invitation carrier and chocolate frogs are below.